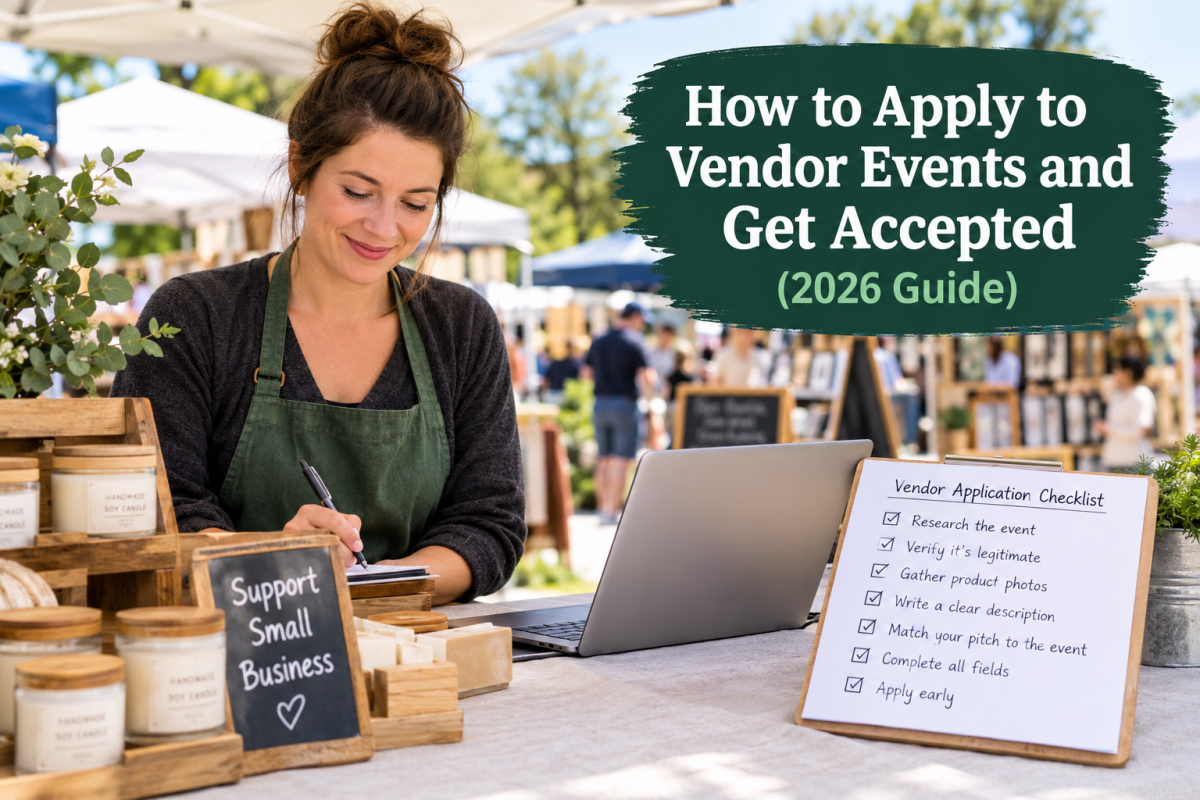
Getting into a good market can feel like a mystery. You send an application into the void, hear nothing back, and wonder what the organizer was really looking for. It does not have to be that way. Once you understand how to apply to vendor events the way organizers actually read applications, your acceptance rate climbs fast. This guide walks through the whole process, from finding events worth your time to filling out an application that earns a yes.
Whether you sell at craft fairs, farmers markets, holiday markets, or art festivals, the fundamentals are the same. Organizers are building a balanced, professional lineup that will sell well and reflect well on their event. Your job is to make it obvious, in about thirty seconds of reading, that you are exactly that kind of vendor.
Start with events actually worth your time
Before you spend an evening filling out applications, decide which events deserve one. A busy weekend has a real cost: booth fees, inventory, travel, and a full day of your time. The best vendors are picky, and they do their research first.
Talk to other makers, and read honest reviews from vendors who have actually sold at the event. On Local Market, our Event Reviews section collects vendor feedback on foot traffic, sales, venue, and day-of logistics, so you can tell a strong market from a slow one before you commit. A show with great photos on social media can still be a ghost town for sales. Reviews from people who stood behind a booth there tell you the truth.
Verify the event is legitimate first
Vendor scams have exploded, especially on social media, where fake "craft fair" pages collect booth fees for events that do not exist. Before you send money to anyone, confirm the event and the organizer are real. We wrote two guides that walk through exactly how: how to verify a vendor event before you apply and how to spot a vendor application scam.
The short version: never pay a booth fee by Zelle, CashApp, Venmo, or a gift card to someone who messaged you out of the blue. Legitimate organizers use a real application, a clear payment process, and a verifiable event listing. If any of that is missing, walk away.
What organizers are actually looking for
Organizers are not trying to reject you. They are trying to fill a limited number of booths with vendors who will show up, sell well, and make the event look good. When they read your application, they are quietly answering a few questions:
- Does your product fit this event and its shoppers? A high-end pottery show and a family flea market want very different vendors.
- Will your booth look professional? Clear photos of your actual setup answer this instantly.
- Do you have too many of your category already? Most organizers cap how many candle makers or jewelry sellers they accept to keep the mix balanced.
- Are you easy to work with? A complete, well-written application signals that you will be reliable on event day.
Almost everything below is about answering those four questions before the organizer even has to ask.
How to fill out an application that gets accepted
Treat the application like a first impression, because it is. A few habits separate the vendors who get in from the ones who get passed over.
Use strong, honest photos. This is the single biggest factor. Include clear images of your products and, most importantly, a photo of your full booth setup. Organizers want to picture how your space will look in their lineup. If you are brand new and do not have a booth photo yet, stage a simple version at home in good light.
Describe your product clearly and specifically. "Handmade goods" tells an organizer nothing. "Hand-poured soy candles in seasonal scents, priced $12 to $28" tells them your category, your quality, and your price point in one sentence.
Match your pitch to the event. Mention why you fit this specific market. If it is a holiday market, note your gift-ready items and price range. If it is a farmers market, lead with what is fresh or seasonal.
Fill out every field. Blank fields read as careless. If a question does not apply, write a short note instead of leaving it empty. Include your business name, a working phone number, your website or social handle, and any permits or insurance the event requires.
Apply early. Many events accept vendors on a rolling basis and fill popular categories fast. The same application often gets a yes in March and a waitlist in June.
Common reasons applications get rejected
Most rejections come down to a handful of avoidable mistakes: no booth photo, a product that does not fit the event, a category that is already full, or an application so thin the organizer cannot picture you at all. A late application hurts too, since the best spots go first.
If you are newer to selling, it is worth reading the seven mistakes new vendors make, because several of them start at the application stage and follow you all the way to the booth.
What to do after you apply
Once your application is in, a little follow-through goes a long way. If you have not heard back by the organizer's stated timeline, a short, polite email is completely appropriate and often moves you forward. Keep a simple list of where you applied, the fees, and the response dates so nothing slips.
When you get the yes, shift straight into preparation. A great booth is what turns one acceptance into a repeat invitation, so make it count. Our guide on setting up a vendor booth that actually sells covers layout, signage, and the small details that lift sales on the day.
Your quick pre-application checklist
- Read reviews and confirm the event is worth your time and money.
- Verify the organizer and event are legitimate before paying anything.
- Gather clear product photos and one strong booth photo.
- Write a specific product description with your price range.
- Note why you fit this particular event.
- Complete every field, including permits or insurance if required.
- Apply early, then track your applications and follow up.
Find and apply to real, verified events
The fastest way to skip the guesswork is to apply where the events are already verified and the reviews are honest. Local Market is built vendor-first: you can read real vendor reviews of events, see which markets are open, and apply through a real, secure process, no sketchy Facebook messages required. Create a free vendor account and start applying to markets worth your weekend.